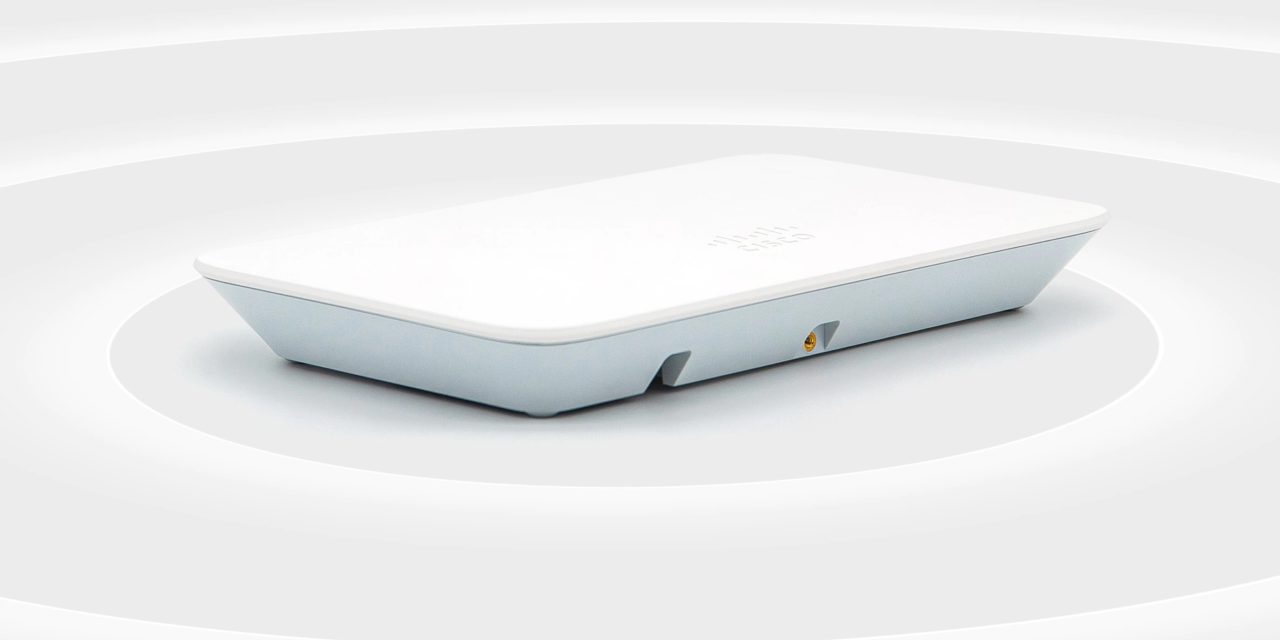
If you want to make the WiFi setup as seamless as possible, you need the US$109 Meraki Go. You can just unpack it, plug it in, and go.
Well, okay, it’s not instantaneous. It will take about 10 minutes to set up your WiFi. More if you’re mounting the Meraki Go on a wall or setting up the outdoors version (more on that in a moment). If that’s not enough to make you give the Meraki Go a look, know that there’s no subscription or license required.
Meraki Go is targeted to small businesses without any IT support where a non-technical employee can set up and manage the network. That would be Apple World Today, where Yours Truly IS the IT guy. And I’m all for anything like the Meraki Go that makes my life easier.
To set everything up, you plug an Ethernet cable from the switch to each device. The Security Gateway is plugged into either a business (or home, of course) company network or the Internet. The other port goes to the switch. Do this, plug in the power, and everything turns on.
Once the network is up and running, you’ll need to install the Meraki Go app (which is a breeze to use) on your iPhone or iPad, create an account, enter the Meraki order number so that the cloud app can find your products. Next, follow the instructions to make any configuration changes you need.
For me that meant creating a name for the network and deciding if I wanted a guess network (I didn’t). By the way, SSID stands for Service Set IDentifier and is your network’s name. If you open the list of Wi-Fi networks on your Mac, iPhone, or iPad, you’ll see a list of SSIDs. Wireless router or access points broadcast SSIDs so nearby devices can find and display any available networks.
If you have the outdoor AP version of the Meraki Go, it needs to be installed so that you won’t get rain, snow, hail, etc. inside the electronics. Then you need to run an Ethernet cable to the outdoor location. The outdoor model is rated IP67.
The Ethernet ports on the tested switch also can connect to non-Meraki products, whether or not they’re PoE devices. Power over Ethernet (PoE) is a technology for implementing wired Ethernet local area networks (LANs) that enables the electrical current necessary for operating each device to be carried by Ethernet data cables instead of standard electrical power cords and wiring.
The Meraki Go is about the size of a phablet. It packs both 2.4GHz and 5GHz radios, allows for 2×2 MIMO access, and provides up to Gigabit speeds (around 800Mbps in “real life”). You can have up to 50 Meraki Go access points per account (any combination of indoor or outdoor access points). A single access point covers up to 500 square feet and up to 50 clients.
You can have an unlimited number of Meraki Go switches per account. You can choose between 8-port, 24-port, and 48-port switches based on the number of wired devices in your network.
Some things to note: you’ll need to have an existing internet connection provided by your Internet Service Provider (ISP) and a modem to connect to the Internet.
But back to the Meraki app. Among other things, you can use it to:
- Set up multiple WiFi networks, with separate SSIDs.
- View Internet consumption.
- Easily implement access permissions.
- Create a custom splash page for guest WiFi.
- Set up website blocking, to prevent access to inappropriate content.
- Enable usage limits, to prevent a single user from hogging the bandwidth.
- Set up app prioritization, to ensure your critical business apps get the bandwidth they need.
Review overview
The Pros
- Easy to set up
- Has a great app
- Small and unobtrusive
summary
10Meraki Go is the easiest solution I’ve found for small and home businesses to implement 802.11ac Wave 2 wireless networks.
Article provided with permission from AppleWorld.Today


